Planning splits in a small apiary
Planning splits in a small apiary is one of the fastest ways to grow, replace winter losses, and cut swarm pressure. Planning splits in a small apiary is also one of the easiest ways to wreck your honey crop and end up with a yard full of underpowered colonies.
This is written for hobby and small-scale beekeepers running 0–50 hives in temperate or cold climates, where spring can turn on fast, then slap you with a week of cold rain.
Why splits are powerful and dangerous
A good split does three things at once: it reduces swarm risk, it makes you increase your hive count without buying bees, and it forces you to handle queens on your terms.
The danger is simple. Every split is a deliberate setback. You are taking brood, bees, and momentum from a colony that is about to hit its spring stride. Most sources will tell you plainly that splitting reduces honey production in the season you do it. That matches real life. It is rare to split hard in spring and still take a “full” crop from the same colonies that did the work.
So the real skill is not “how to split.” It’s knowing which colonies to split, how many to make, and when to stop.
When is the right time to split?
Timing is a mix of season phase and colony condition. In cold climates, you don’t split because the calendar says April 20. You split because the bees are ready, drones are showing up, and the weather will let a new queen get mated.
Read the season, not the date
A reliable window for spring splits is just before or at the start of a major nectar flow, when forage is opening and colonies can rebuild quickly. Extensions often phrase it this way because it’s the truth: splitting ahead of the main flow gives the halves time to rebound and avoids the worst honey losses.
In many northern yards that looks like:
- Maples and willows are done or tapering, dandelion is strong, fruit bloom is starting.
- Daytime highs are regularly mild enough that you can work without chilling brood.
- You’re seeing drones walking on combs, not just a few in the air on a lucky afternoon.
If you rely on walk-away splits (raising their own queens), do not rush this. Queen rearing and mating get ugly when you have cold nights and no drones.
Read the colony, not your hopes
A split candidate is not “any hive with bees.” For most small-apiary beekeepers, a colony should be bursting enough that you are already adding space, rotating boxes, or knocking down swarm cells.
Practical signs a colony can donate resources without crashing:
- Solid brood pattern over multiple frames, including eggs and young larvae.
- Plenty of nurse bees. You should feel that “heat” when you pull a brood frame.
- Stores coming in, or at least enough honey/pollen that you are not feeding to survive.
If you’re running single deeps (or a small brood box), you need to be even more conservative. Small boxes run out of bees fast after you pull brood.
Walk-away split timing vs. “queen-right” splits
If you introduce a mated queen, you can split earlier and recover faster. If you let them raise a queen, build in time for queen development and mating. A queen emerges about 16 days after the egg is laid, and then she still needs time and weather to mate and begin laying.
That gap is why a walk-away split feels strong on day 1 and looks scary on day 21. No new brood is coming during the wait.
How many splits can you safely make?
Most over-splitting problems come from the same mistake: people split every hive because the bees look great for one week.
A good rule is to plan splits around your primary goal for the season:
- Honey-first year: split lightly, or not at all, and focus on swarm control and keeping your strongest colonies intact.
- Growth or replacement year: accept less honey, and build more nucs than you think you need.
- Balanced year (most small apiaries): keep some colonies untouched for honey, split only the top performers.
Extensions commonly recommend that each split gets a meaningful amount of brood plus food, not scraps, and they warn against dividing too many times. A common guideline is 3–5 frames of brood plus a couple of food frames per split, depending on equipment size and conditions.
A simple “donor colony budget”
Here’s a practical way to plan without fancy math:
- Identify your donor colonies. Only the strongest hives should donate brood.
- Decide how many brood frames you can remove without weakening them into swarmy, unproductive messes.
- Build splits that are strong enough to succeed, not just to exist.
For a typical 10-hive yard in a cool climate, a sane plan often looks like this:
- Keep 3–5 colonies honey-focused (minimal brood removal).
- Use 3–4 colonies as donors for nucs.
- Leave 1–2 colonies alone as backups (these are the ones you rob from later if a split fails).
If you only have 5 hives, don’t try to double your yard with walk-away splits in one spring. That’s how you spend summer babysitting weak colonies and buying queens to patch holes.
How strong is “strong enough” to split?
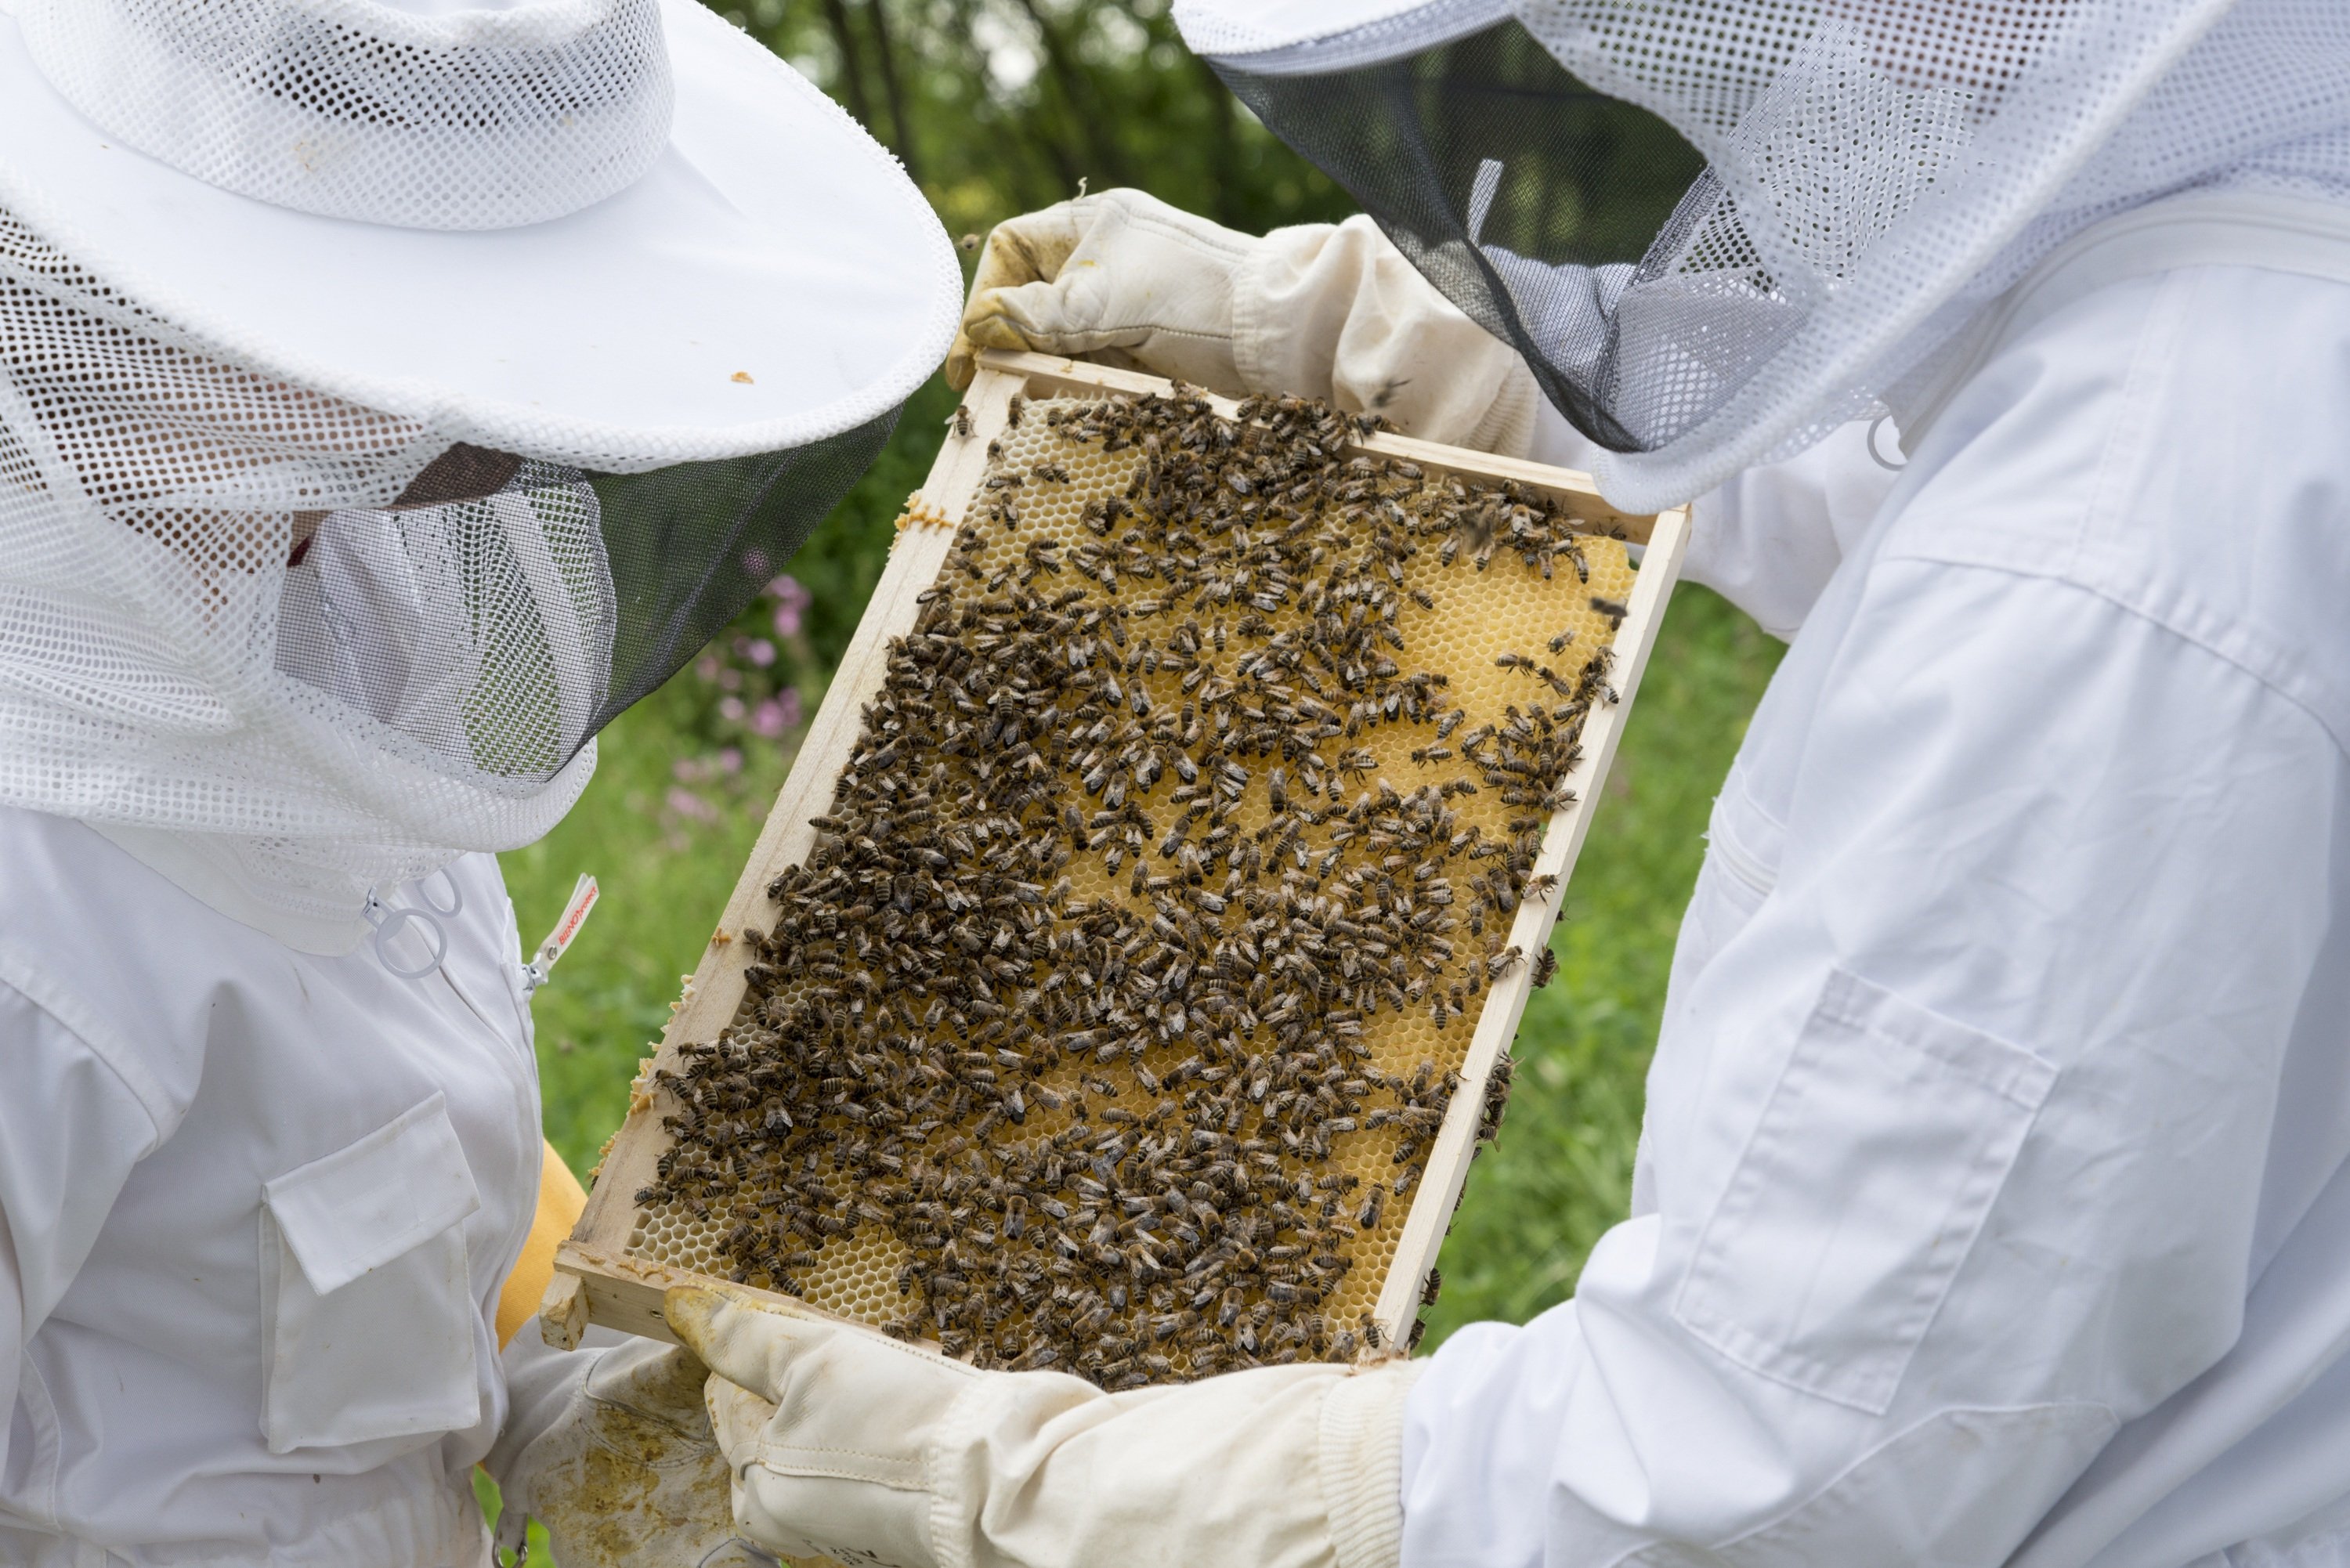
You can’t measure strength by optimism. Look at brood coverage and adult population.
One extension guideline notes that very strong colonies (for example, more than about a dozen frames with brood) may be divided into thirds, while also stating a minimum brood allocation per new unit. That matches what experienced beekeepers see: you need real brood mass to make three viable units, especially in cooler weather.
If you’re not routinely seeing big, heavy brood nests, you’re probably in “two-way split at most” territory.
Practical split recipes that actually work
Below are split setups that fit real small-apiary work: you have limited gear, limited time, and you want predictable outcomes.
1) The 2-frame nuc (insurance nuc)
This is not a production split. It’s an insurance policy, a queen bank, or a “spare parts” nuc.
Use it when:
- You want a backup queen in case a main split fails.
- You found a colony with a failing queen and want to hedge without committing a full nuc.
Typical setup (Langstroth):
- 1 frame with eggs and very young larvae (so they can raise a queen)
- 1 frame with honey/pollen
- Shake in extra nurse bees (do not be shy)
- Reduce the entrance hard
- Feed immediately
Cold-climate warning: small nucs chill easily. If nights are cold, use a well-fitting nuc box, keep it out of wind, and don’t spread brood across too much empty space. A 2-frame unit can succeed, but it is unforgiving.
2) The 5-frame nuc (3–5 frame brood nuc)
This is the workhorse. If you want consistent success, build 5-frame nucs that can actually thermoregulate, grow, and defend themselves.
A reliable configuration:
- 2 frames brood with eggs/young larvae (queen material)
- 1 frame sealed brood (a quick population boost)
- 1 frame honey/pollen
- 1 frame drawn comb (best) or foundation
Add bees. In cool weather, I’d rather the nuc looks slightly “over-bees” than under-bees.
Feeding: In many cold and temperate areas, a spring nuc needs syrup even if the main colonies are flying. A small box runs out of stores fast during a rainy week. If you want to be consistent, use a simple plan and stick to it. The site’s feeding syrup planner can help you set amounts and timing without guessing every visit: feeding syrup planner.
Queen option A: introduce a mated queen
- Fastest recovery.
- Best if your main nectar flow is not far away.
- Less “dead time” with no brood.
Queen option B: walk-away
- Works well once drones are abundant and weather is stable.
- Plan for the brood gap and the possibility of a failed mating.
3) The equal split (swarm-control split)
This is the classic “cut it in half” move when a colony is building swarm pressure.
Basic method:
-
Make two boxes with roughly equal:
- brood
- bees
- stores
-
Ensure one half has the queen (find her, or manage with a careful plan).
-
Move one half to a new stand in the yard.
This style is simple and effective, and it matches common extension advice: splitting strong colonies is a straightforward way to reduce swarming.
Important detail: if you leave the queenless half in the original location, a lot of foragers drift back there. That can starve the moved box of field bees. In a small apiary, you can use that drift on purpose, but do it intentionally, not by accident.
4) The “honey colony + nucs” donor plan
If you want honey and increase, pick your best colony and use it as a donor, but don’t dismantle it.
A practical approach:
- Take one brood frame at a time from a booming colony, from the edges of the brood nest, not the center.
- Build two 5-frame nucs over a couple of weeks instead of stripping the donor in one day.
- Keep the donor well-spaced (add supers early, keep the brood nest open with drawn comb).
This is slower, but in cold climates it is often the difference between “everything made it” and “I’m combining weak boxes in August.”
Checkpoints and common failure points
Splits fail for predictable reasons. If you build in a few checkpoints, you catch problems while they’re still fixable.
Don’t keep “checking the queen cells”
With walk-away splits, too many inspections is the silent killer. You crack the box, you roll cells, you chill brood, you set them back.
A simple check rhythm:
- Day 5–7: quick look for started queen cells (or confirm the introduced queen is released).
- Then leave them alone for a couple of weeks unless something is clearly wrong.
- Around week 3–4: look for eggs and a laying pattern.
Queen development plus mating is not instant. In good conditions, you can still be waiting a few weeks for a new laying queen, and poor weather stretches it.
Feed small units before they “need it”
A full-size hive can coast on stores and foraging. A nuc can starve in three days of cold rain.
If you’re not sure, lift the back of the nuc. If it feels light, feed. Keep it steady, not flooded.
Watch drifting and robbing
Small apiaries often have hives close together. Nucs get robbed fast, especially during a nectar dearth or in late spring when you have a warm week and then nothing.
- Small entrance.
- No syrup spills.
- Don’t leave honey frames exposed in the yard.
Varroa: splits can help, but don’t pretend it’s magic
A queenless split creates a brood break. Mites reproduce in brood, so interrupting brood production can reduce Varroa growth, especially when paired with a real plan.
But a split is not a complete Varroa strategy. Use splits as one tool in a bigger program: monitoring, thresholds, and season-appropriate interventions. If you want a clean way to map that out across a small yard, use the varroa strategy planner.
Tools that help you plan (and keep you from over-splitting)
When you run 5–30 hives, your biggest enemy is not lack of knowledge. It’s fuzzy planning. A split here, a nuc there, and suddenly you can’t remember which box is queenless, which one got a cell, and which one you meant to recheck.
A few tool habits make splits calmer:
- Written inspection rhythm. Use a repeatable checklist so you don’t over-inspect your nucs or forget to confirm a laying queen. The inspection checklists are perfect for this.
- A simple season plan. Decide upfront how many colonies you are willing to “spend” for increase, and how many you want honey-focused. If you’re newer and still learning timing, the first-year planner helps you anchor decisions to season stages instead of panic.
- One place for your yard notes. Even a notebook works, but keep it consistent: donor colony, frames removed, queen status, date created, and next check date. If you like structured resources, browse the playbooks for workflows you can copy.
If your site has a splits and nuc planner, queen rearing calendar, or swarm risk score, the key is the same: use them to make fewer, better splits. Not more.
Wrap-up
Pick your donor colonies early, and be ruthless about only splitting the ones that can afford it. Build nucs that are strong enough to stay warm, feed them before they look desperate, and give queenless splits enough time to finish the job. If you want both honey and increase, protect a few colonies for honey and use the rest as your growth engine.
Tools that make this easier
First-year beekeeping season planner
Generate a month-by-month first-year beekeeping plan tailored to your climate, start date and number of hives.
Open toolMore from the blog
First year beekeeping calendar explained
The first-year beekeeping calendar is where good intentions meet real weather, real bees, and real life. If you feel behind in your first season, you are not doing it wrong, you are doing beekeeping. This first-year beekeeping calendar is written
Read articleHow much honey should you leave for winter?
“How much honey should you leave for winter?” is one of those questions that sounds simple until you’ve watched a colony starve in March. How much honey should you leave for winter depends on your climate, your hive setup, and
Read articleVarroa monitoring basics for small apiaries
Varroa monitoring is the difference between wintering bees and watching them fall apart in late summer. If you keep 0–50 hives in a temperate or cold climate, varroa monitoring needs to be a routine, not a panic move after you
Read article