Sugar syrup for bees: ratios, quantities and common mistakes
Sugar syrup for bees is a tool I reach for when the weather is doing its usual temperate-climate tricks: cold nights, late springs, surprise dearths, or a long autumn that shuts down before the bees are ready. It is not a magic fix, but it can keep colonies alive and on schedule.
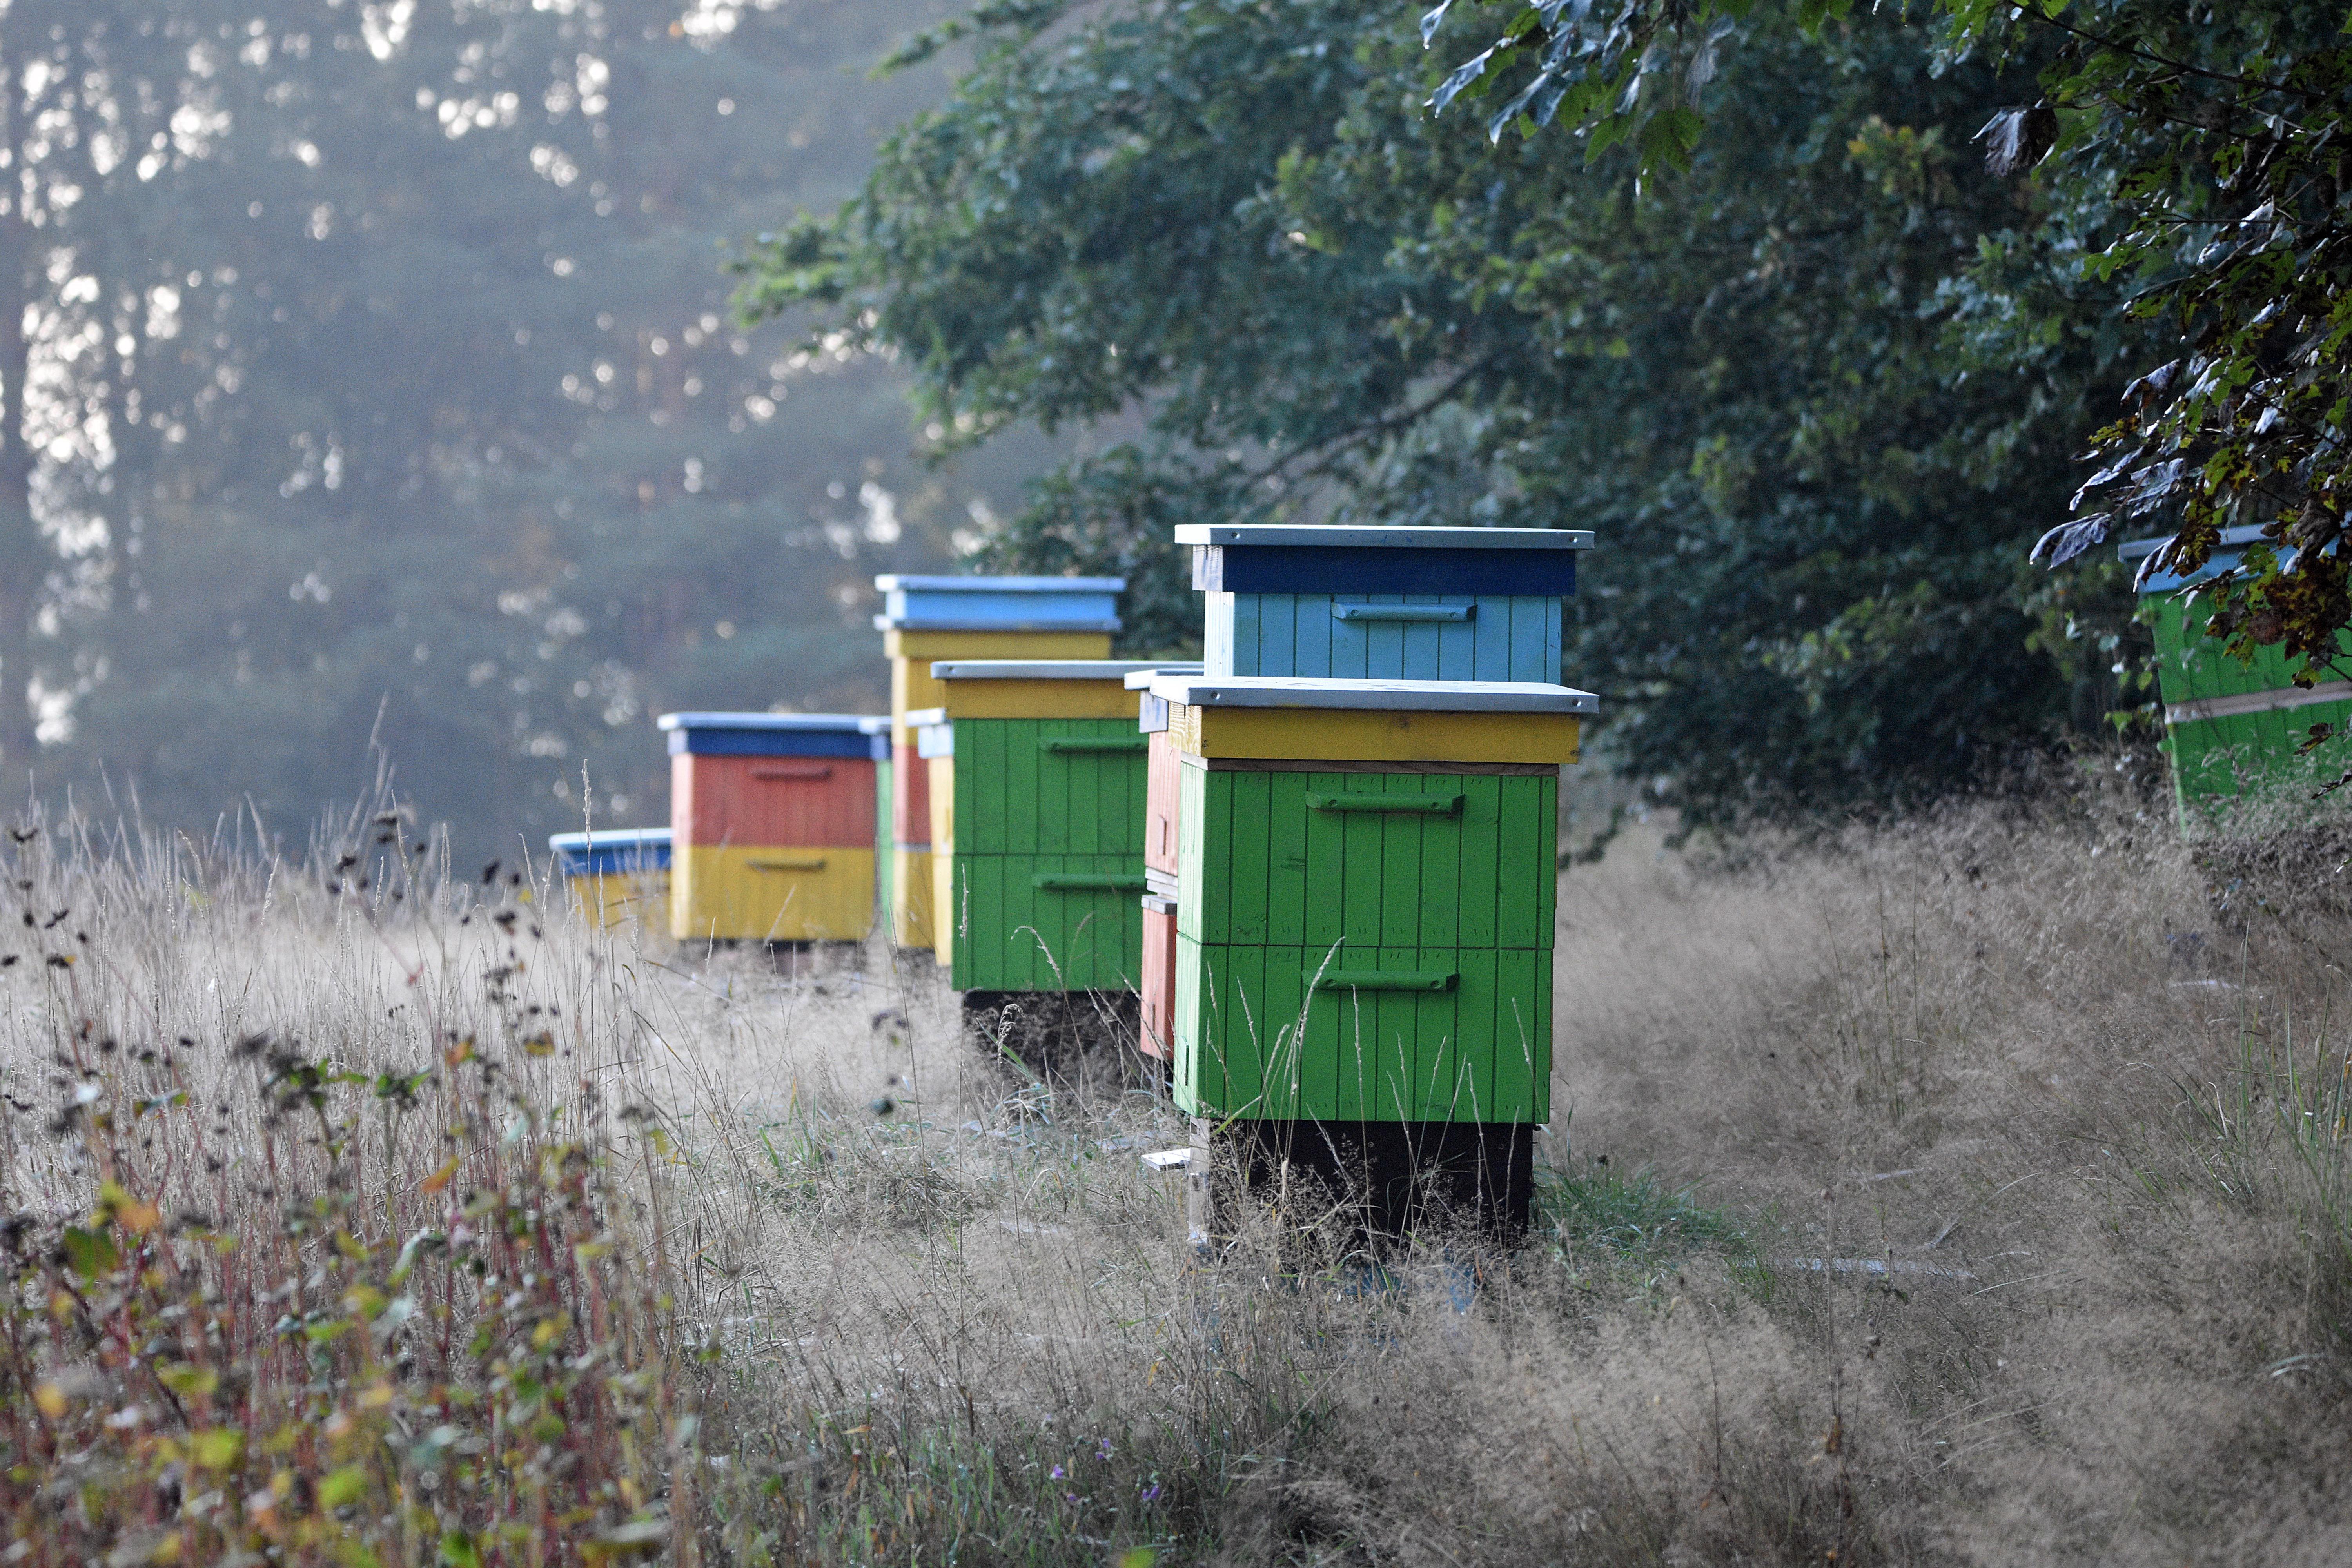
This is written for hobby and small-scale beekeepers running 0-50 hives in temperate to cold climates, where timing matters and feeding mistakes show up fast once nights drop into the 40s F (4-9 C).
Sugar syrup for bees ratios: 1:1 vs 2:1 (light vs heavy)
The ratio you choose changes what the bees do with it. Light syrup behaves more like nectar and tends to get used to support brood rearing and comb building. Heavy syrup is closer to “store it now” fuel, and it saves the bees work because there is less water to evaporate before it can be capped.
A simple way to keep it straight:
- 1:1 syrup (light): equal parts sugar and water by weight
- 2:1 syrup (heavy): two parts sugar to one part water by weight
When 1:1 syrup makes sense
Use 1:1 when you want to support growth and wax work, especially:
- Packages and new nucs that are building from scratch
- Comb drawing on foundation (this is where new beekeepers underestimate how much food wax takes)
- Early spring stimulation feeding when nights are still chilly but you want steady brood rearing
Michigan State notes that thin syrup in spring and early summer mimics a nectar flow and stimulates egg laying, and also reminds us of the wax cost: roughly 1 pound of wax takes about 8 pounds of honey to produce. That is why a fresh package on foundation can feel like a “bottomless pit” for feed if the weather stays poor.
Practical note: if you are feeding 1:1 while honey supers are on, you are asking for syrup to end up stored where you do not want it. If the goal is a honey crop, feeders come off when the main flow is on.
When 2:1 syrup is the better call
Use 2:1 when you are trying to build winter stores or correct a late-season shortage:
- Late summer into fall “top-up” feeding
- Colonies that feel light after harvest
- Any situation where you need weight on quickly before cold weather limits syrup uptake
Ontario’s guide is blunt for fall: aim for a thicker syrup around 70% sugar, which they tie to a 2:1 ratio (by weight), because wetter stores can contribute to dysentery and overwinter losses.
Michigan State makes the same point in different words: as fall progresses, syrup should be at least about 66%, and feeding needs to be finished early enough (their Michigan example is by Oct. 1) so bees have time and warmth to process it.
Measure by weight, not by cups
Every year I see someone feeding “2:1 by volume” because it was easy to scoop, and then wondering why the hive stayed light.
Stick to weight. Ontario even gives the handy shortcut for metric users: 1 liter of water weighs 1 kilogram, so the math is clean.
How to calculate quantities without getting lost
There are two parts here:
- how much syrup a colony might need in your situation
- how much sugar and water to mix to make it
Step 1: Decide what you are trying to accomplish
Common targets in temperate and colder regions:
- Getting a new colony established: Michigan State suggests a 3 lb package should receive about 2 gallons of syrup to cover roughly the first couple of weeks (more if they started on foundation only).
- Going into winter with enough stores: Michigan State puts a typical winter requirement around 70-100 lb of honey (equipment and region matter), while Ontario gives a practical “feel” target and example weights (single vs double brood chamber) and also says at least 15 L / 4 gallons of syrup per colony as a starting point.
- Emergency feed in cold weather: once it is cold, liquid feed becomes a bad bet. Alabama recommends solid feed below 50 F, placed where the cluster can reach it.
Those numbers are not laws. They are planning anchors. Your job is to confirm by looking at the hive: frame count, brood size, and especially the “heft test” when you tip the hive from the back.
Step 2: Mix the batch size that matches your hive count
Metric quick math (easy mode):
- 1:1 syrup: sugar (kg) = water (L)
- 2:1 syrup: water (L) = sugar (kg) ÷ 2
Examples:
- 1 hive, light feeding: 2 kg sugar + 2 L water = a small batch you will actually use before it spoils.
- 5 hives, light feeding: 10 kg sugar + 10 L water.
- 10 hives, fall feeding: mix in repeatable batches like 10 kg sugar + 5 L water, then keep going until each hive is where it needs to be.
Imperial quick math (still not bad):
- 1 gallon of water weighs about 8.34 lb.
- 1:1 by weight: 10 lb sugar + 10 lb water (about 1.2 gallons of water).
- 2:1 by weight: 10 lb sugar + 5 lb water (about 0.6 gallons of water).
For small apiaries, I like batch sizes that fit a single bucket and a single feeding round. If you run 10 hives, mixing “one monster tote” sounds efficient until you are sticky, tired, and you spilled syrup across the yard right at robbing season.
A simple way to plan for 1, 5, and 10 hives
Here are realistic planning examples using the published guidance as a baseline:
Spring packages (1:1 syrup) Michigan State’s package example is 2 gallons per new package to cover about two weeks.
- 1 new hive: plan ~2 gallons ready
- 5 new hives: plan ~10 gallons ready
- 10 new hives: plan ~20 gallons ready
That does not mean you dump 2 gallons in on day one. It means you want enough mixed so you can keep them fed through bad flying weather without improvising.
Fall top-up (2:1 syrup) Ontario suggests at least 15 L (4 gallons) of syrup per colony as a starting point, and Alabama says colonies may need up to four gallons of heavy syrup to be winter-ready in their context.
- 1 hive: expect that “a few gallons” may be needed if it feels light
- 5 hives: you are now in “mix batches, keep notes” territory
- 10 hives: you will save time by standardizing your batch size and feeder fill routine
If you want help scaling this cleanly for your own hive count and feeder sizes, the Feeding Syrup Planner does the batch math without the scribbles.
Common feeding mistakes that cost colonies
Feeding too late (or too cold)
Once nights are consistently cold, bees do not take syrup well, and what sits can ferment or just become useless weight you carried out for nothing. Betterbee notes bees are reluctant to take syrup below about 50 F, and Alabama uses the same cutoff to steer beekeepers toward solid feed in colder temperatures.
In cold climates, “I will feed them later” is usually a story you tell yourself in September, then regret in November.
Robbing, robbing, robbing
Spilled syrup, leaky feeders, entrance feeders left on too long, open feeding near other yards, feeding in the middle of the day when everyone is flying, all of it invites trouble.
- Bees for Development is clear that feeding should be inside the hive to avoid robbing frenzies.
- UF/IFAS and Betterbee both call out increased robbing risk in fall and the need to keep feeders clean and spills controlled.
- Alabama specifically warns that entrance feeders encourage robbing and should not be used outside spring.
If you keep only two hives, robbing still happens. It is just faster and more personal.
Fermentation and mold from big batches and slow take-down
Warm weather plus syrup that sits equals fermentation and mold. Alabama points out that larger-volume feeders are more likely to ferment, and that if a colony has not used syrup within about a week, it may have found nectar and the feeder can be removed.
Make smaller batches more often. Clean feeders. And do not keep syrup in a hot shed for weeks.
Overheating syrup (and the HMF problem)
You do not need to cook syrup. Warm water dissolves sugar just fine.
Alabama says it plainly: mix sugar into warm water and never boil the mixture to combine.
The Honey Bee Health Coalition explains why overheating matters: hydroxymethylfurfural (HMF) can form when syrup (and honey) is heated or stored warm for long periods, and HMF above certain levels is toxic to bees.
Keep it simple: heat the water, remove from heat, stir in sugar, and stop.
Using the wrong sugar
If you only remember one ingredient rule, make it this one:
- Use plain white table sugar (cane or beet).
- Do not use brown sugar, molasses, or “raw” sugars with extra solids.
Alabama and UF/IFAS both warn that sugars with additives (molasses in brown sugar, starches in some powdered sugars) can cause problems like dysentery. Bees for Development also advises against unrefined sugars and molasses for the same reason.
Feeding syrup into your honey crop
It happens more often than people admit. The classic setup is: feeder still on, super goes on, then the colony stores syrup where you hoped for surplus honey.
Alabama’s guidance is clear: if the colony is storing honey, feeders should be removed, and any syrup frames should be marked so they are not harvested.
Scenarios from real yards
Scenario 1: First-year beekeeper with 2 hives in a cold spring
You installed two packages in April. Nights are still dropping near freezing, and you started on foundation.
What I would do:
- Feed 1:1 syrup immediately, using an in-hive feeder so they do not have to leave the cluster area as much.
- Plan around the Michigan State package baseline (about 2 gallons per package early on), but refill based on what they actually take.
- Inspect weekly until they have drawn a good amount of comb. New beekeepers often stop feeding as soon as they see a little nectar, then the colony stalls when the weather turns again.
- Pull the feeder off when the main flow starts and certainly before supers go on, so you do not store syrup as “honey.”
If you want a simple rhythm for those first inspections, the inspection checklists help you track stores, brood pattern, and feeder status without relying on memory.
Scenario 2: 15 hives, late August, you are thinking about winter already
This is the point where small apiaries start to feel “big”. You cannot guess your way through feeding anymore.
What I would do:
- Pull supers, assess each hive by heft and by frames of stores.
- Start 2:1 syrup early enough that they can take it down while nights are still warm. If you wait until syrup is the only forage left, robbing pressure climbs fast.
- Use Ontario’s fall guidance as a reality check: thicker fall syrup (2:1 by weight), and be prepared for something like 15 L / 4 gallons per colony as a starting point, then adjust hive by hive.
This is also where varroa management and feeding collide. A hive with heavy mites will not turn syrup into healthy winter bees. If you want to line up feeding with mite work, the Varroa Strategy Planner helps you map the season.
Scenario 3: It is January, the hive is light, and you are out of options
Cold weather, clustered bees, and a feeder full of liquid syrup is mostly wishful thinking.
What I would do:
- Switch to solid feed (fondant, sugar cake, or dry sugar methods) placed above the cluster so the bees can reach it without breaking cluster. ([aces.edu][1])
- Do not open the brood nest “to check”. Quick, minimal disturbance is the whole point in winter.
- Make a note to start fall feeding earlier next year. Late feeding is one of the most common, avoidable overwinter problems.
Tools that make this easier
Once you have more than one hive, the hard part is not knowing the ratios. It is keeping everything consistent and recorded.
- Feeding Syrup Planner for scaling 1:1 or 2:1 batches to your hive count and keeping per-hive notes.
- Inspection checklists so feeding decisions are based on what you saw, not what you meant to remember.
- First-year beekeeping planner if you are still building your seasonal rhythm and want fewer “oops, it is already fall” moments.
- Browse all options in the beekeeping tools library.
Sugar syrup for bees works best when you decide the goal first, pick the right ratio, and start early enough that the colony can actually take it down. Mix by weight, keep feeders tight and clean, and track what each hive got. If you want to simplify the batch math and stay consistent across hives, start with the Feeding Syrup Planner.
Tools that make this easier
First-year beekeeping season planner
Generate a month-by-month first-year beekeeping plan tailored to your climate, start date and number of hives.
Open toolMore from the blog
First year beekeeping calendar explained
The first-year beekeeping calendar is where good intentions meet real weather, real bees, and real life. If you feel behind in your first season, you are not doing it wrong, you are doing beekeeping. This first-year beekeeping calendar is written
Read articleHow much honey should you leave for winter?
“How much honey should you leave for winter?” is one of those questions that sounds simple until you’ve watched a colony starve in March. How much honey should you leave for winter depends on your climate, your hive setup, and
Read articleVarroa monitoring basics for small apiaries
Varroa monitoring is the difference between wintering bees and watching them fall apart in late summer. If you keep 0–50 hives in a temperate or cold climate, varroa monitoring needs to be a routine, not a panic move after you
Read article